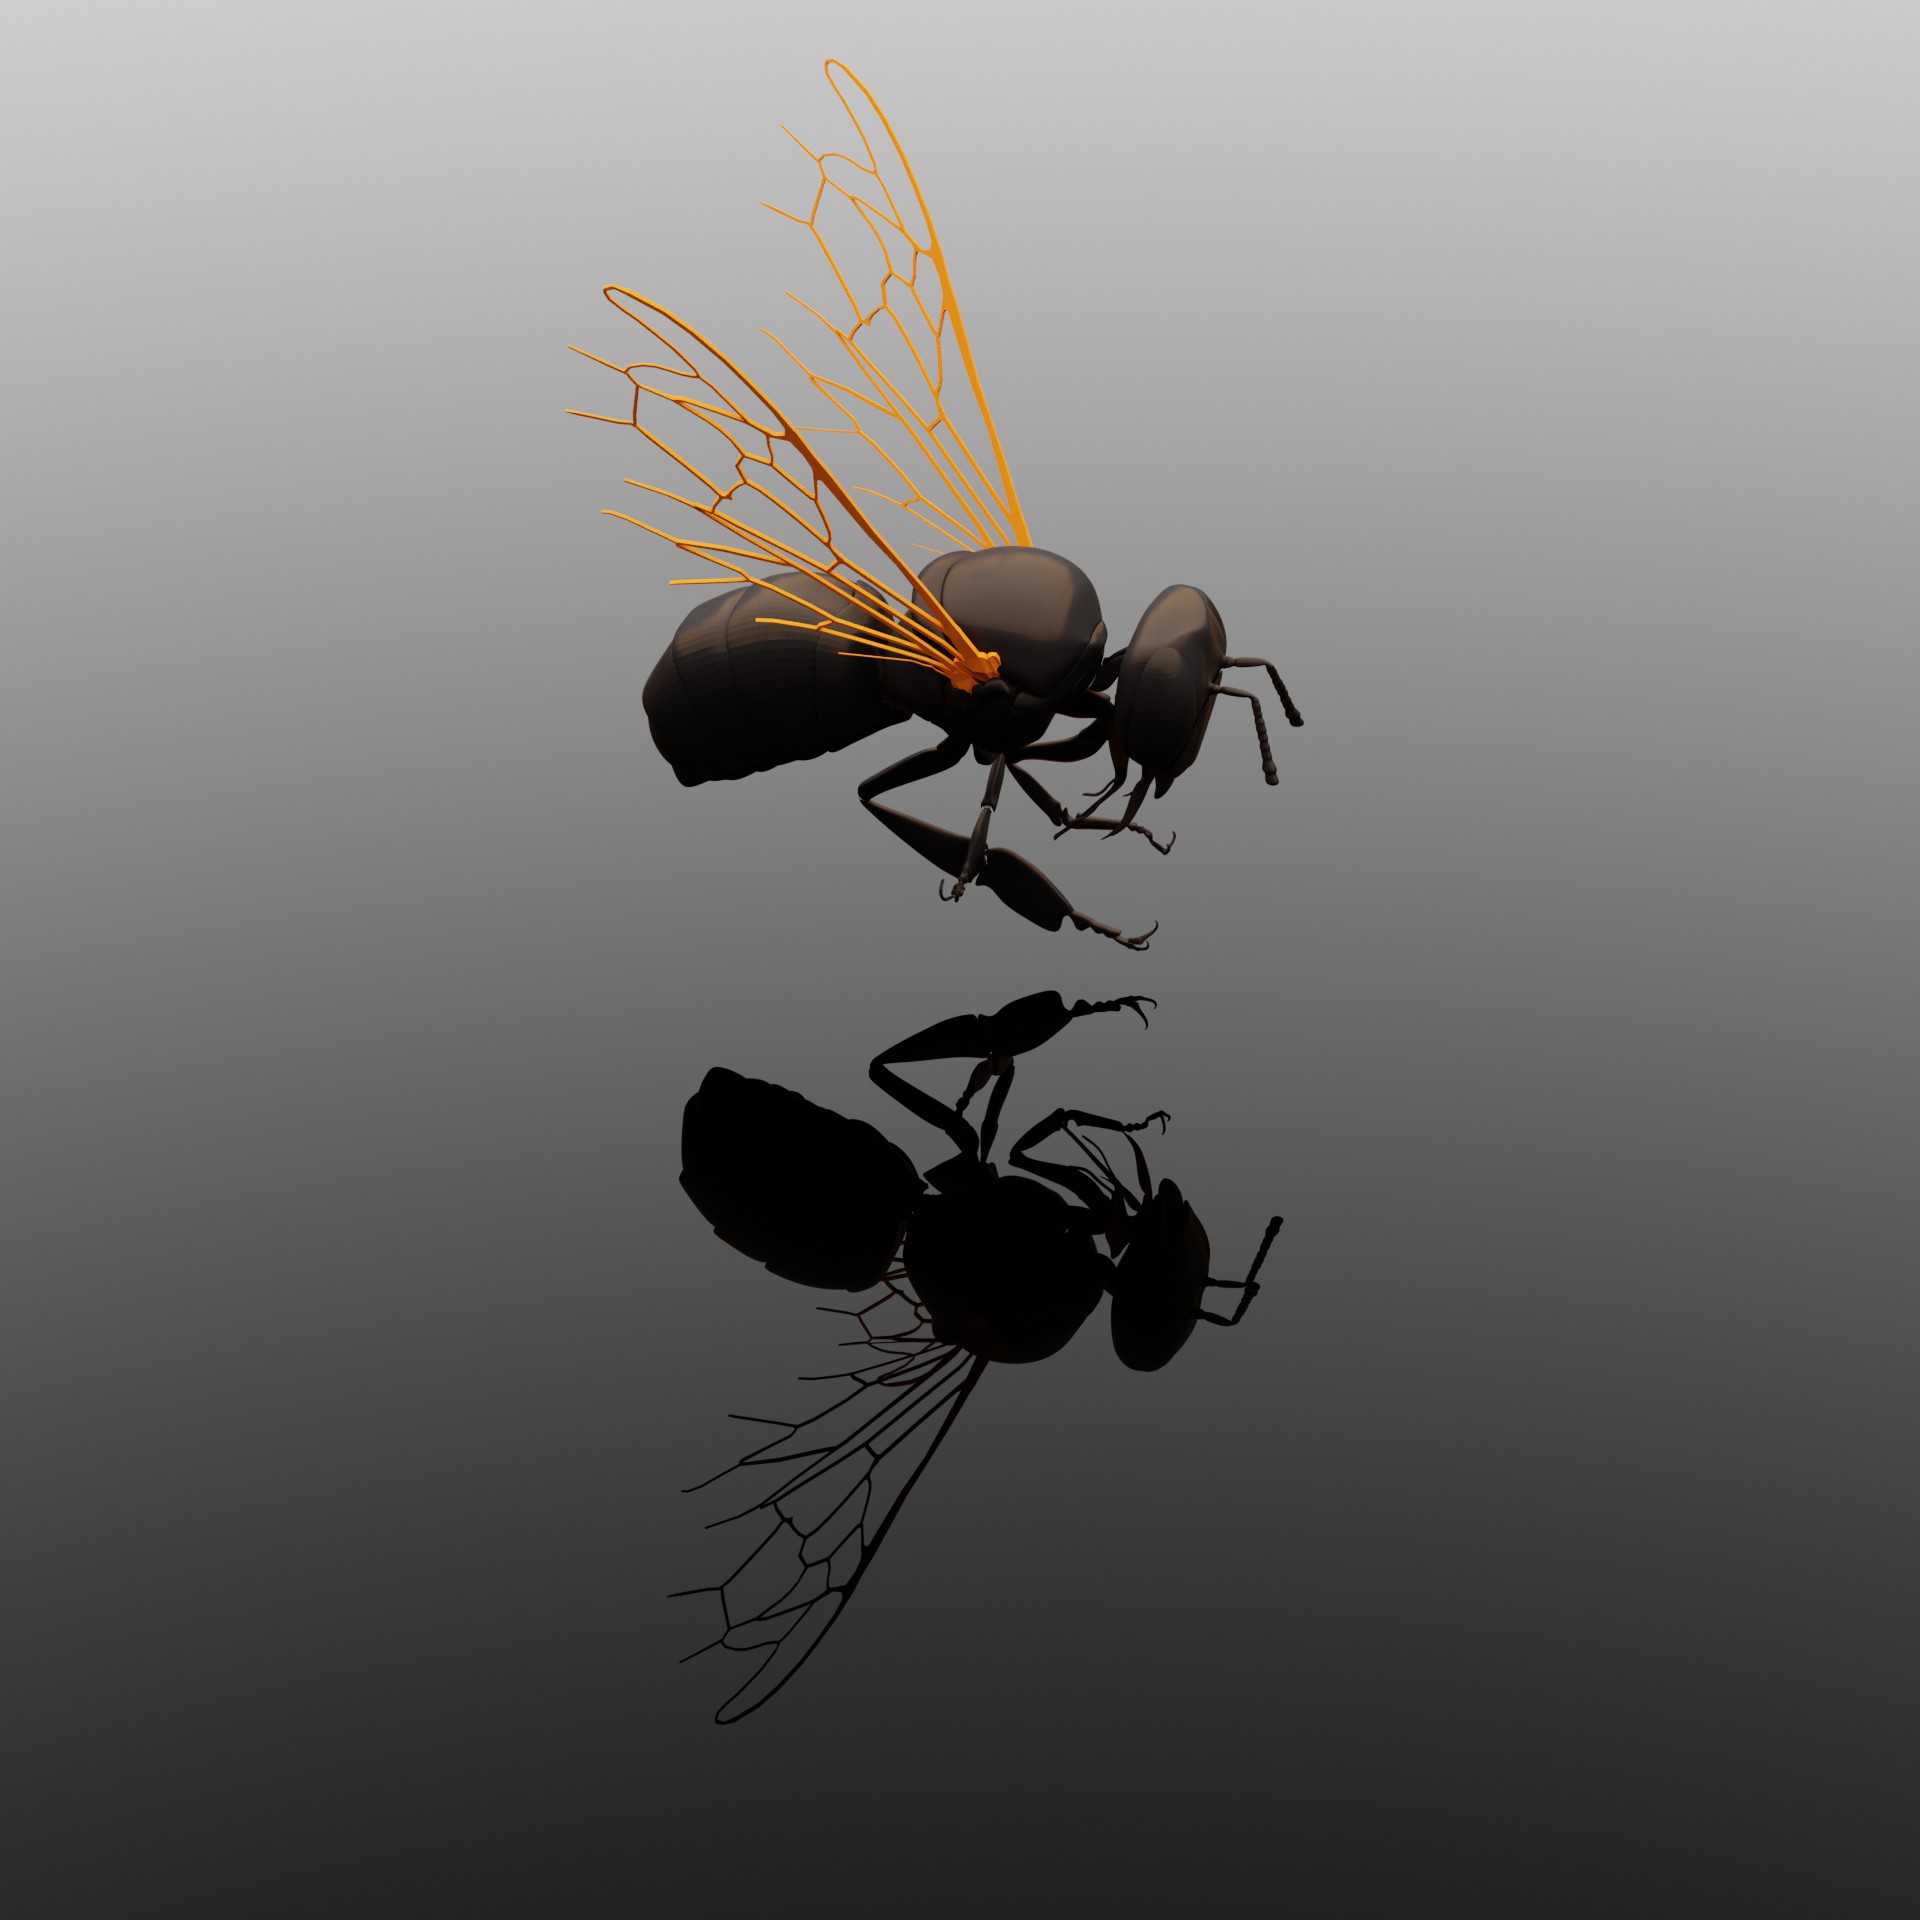
The Kidzeum Monarch I built has been returned after several years. This was my very first professional commission and my first attempt to make an installation piece for long term use. I had tried to anticipate the piece being heavily used and roughly handled by the children, but over time, the monarch broke down in a few ways. Superficially, the Monarch appears OK, but the wings started folding at the tips, and the legs started to break and fall off. Eventually, the servos somehow jammed and were unable to be repaired.
During the holidays at the end of 2024, I lost my project momentum. Later, I ended up getting sick, and then I started getting involved helping with various family affairs. Additionally, this has been a busy time getting native plant seeds in the ground and removing weeds. If one really wants to go pure native, even in smaller beds, the winter season is packed full of projects! As a result, I haven’t sat down and worked on my animatronics in several months.
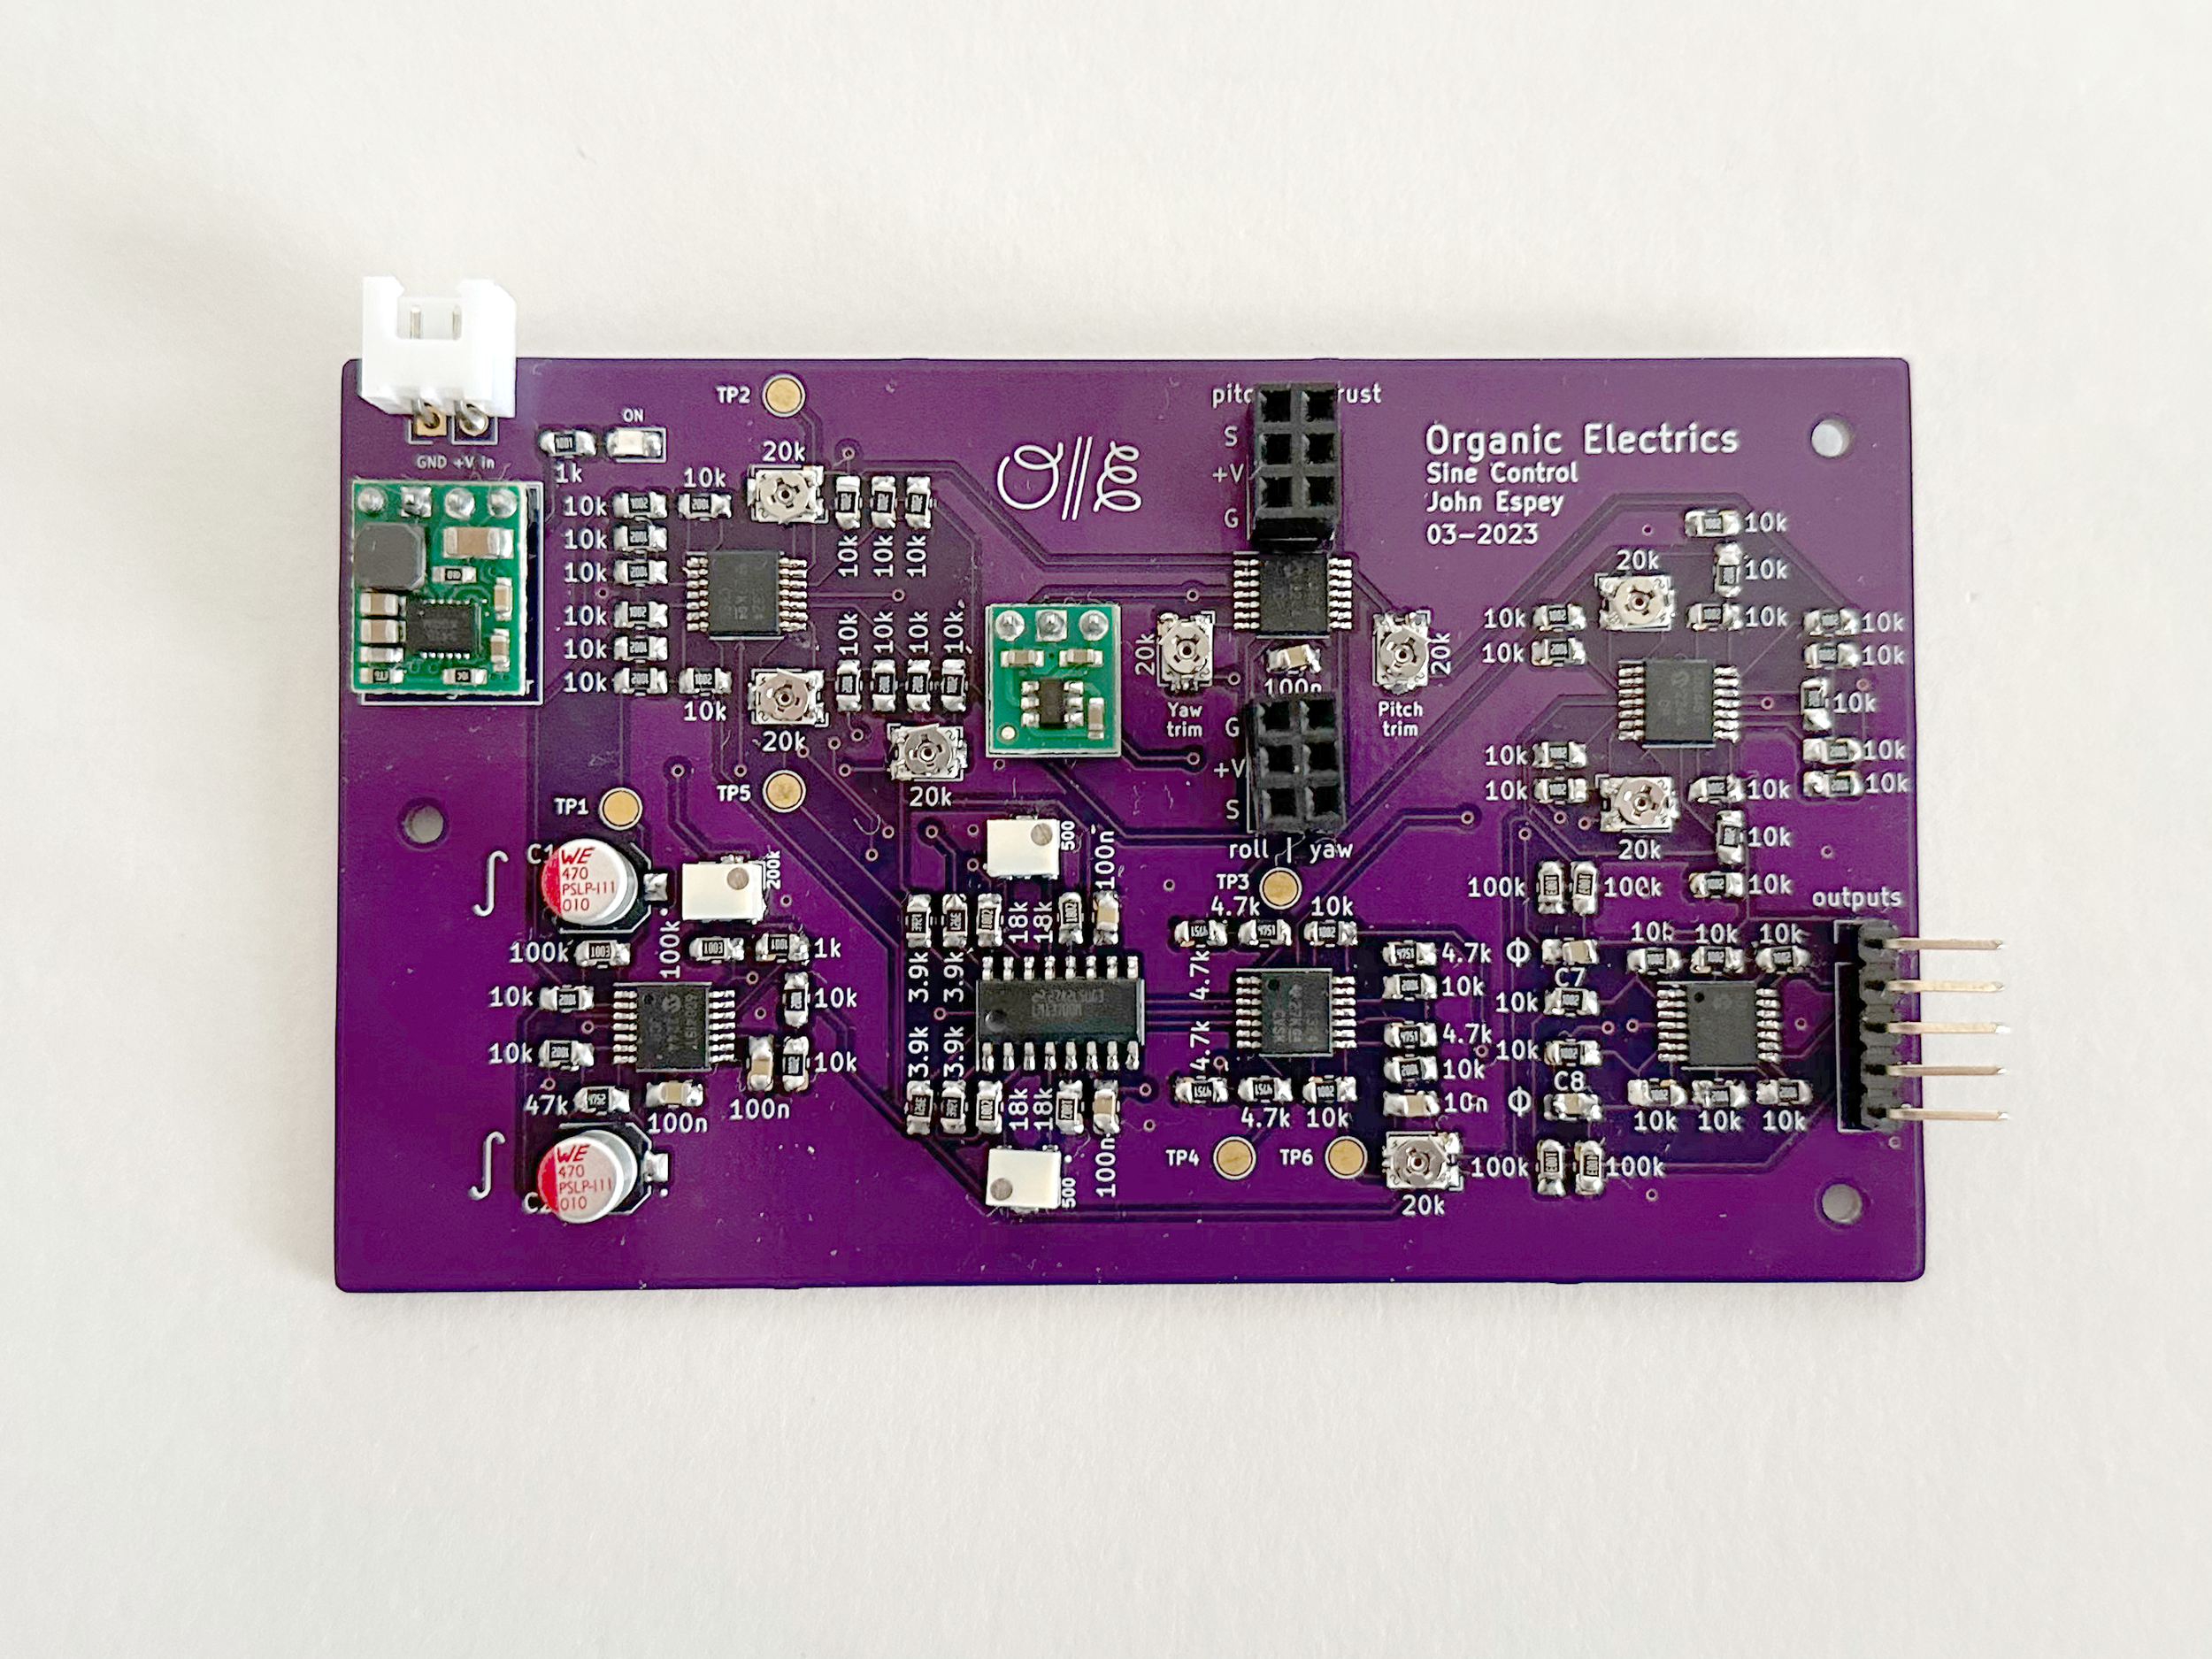
Now that the weeding is slowing down and I’ve got all the seedlings started that I could, I am feeling that animatronics projects needs to get a reboot. I needed a better servo signal generator circuit for my flapping mechanism, so I got to work designing it. Instead of separating out each channel of the servo signal, I crammed four channels onto one, two layer PCB. The amazing thing is that I was able to complete this design in roughly 14 hours. A new personal record for a PCB design!
Quad analog voltage to servo PWM converter in OSH Park After Dark PCB style. The Left board shows the top, the right board shows the bottom.
The new board has a lot of features which I like. It has a very clear input to output flow. It has a symmetrical design which is more organic. Also, I added the servo power input and physically separated that from the board power, so there aren’t any ground loops and a low impedance path for the current. I’ve also planned ahead and added two M2 mounting holes so I can secure it to my 3D prints.
I am looking forward to trying OSH Park’s “After Dark” PCB design process. These are black boards with clear solder mask, so the orange copper traces really pop. This matches the Monarch aesthetic, even though it would be hidden inside the body of the butterfly. The 3D renders above show what these boards will soon look like.
Hopefully this reboots my project work as I feel guilty “letting it rot,” so to speak. I have a long list of things still to do. Once I get these quad servo generator boards soldered together, I’ll be able to demonstrate the flapping motion with my large new wings. From there, I may create a new Monarch for installation. Or update the Monarch design for improved mobility. I would also love to incorporate sensors and more electronics and build more of a robot instead of animatronics. For instance, I have accelerometers and cameras which would be fun to integrate. Literally, integrate in an analog circuit and use as input signals for wing motion.
I do not have any commissions, nor do I have any pressing need to find them. I have a full time job and I am saving money to invest in rural property so I can steward land for pollinators and other wildlife. Ideally, I would have a greater body of work and build an audience, but life is handing me different opportunities, which I do not want to reject. As I have mentioned in previous blogs, I am learning a ton and enjoying some very up-leveled production techniques. Even if I am not a prolific artist, I do think I will be able to produce some exceptional crafts in the future. Small steps like these new PCBs get me excited, and I would like to stay in that place.


